An invoice in Roundo starts as a draft you can edit freely, then becomes a permanent, numbered document once you issue it. You can build it from the visits a customer already owes for, or from lines you type yourself, and send it to them by email as a PDF. This guide walks the whole path, from blank draft to sent.
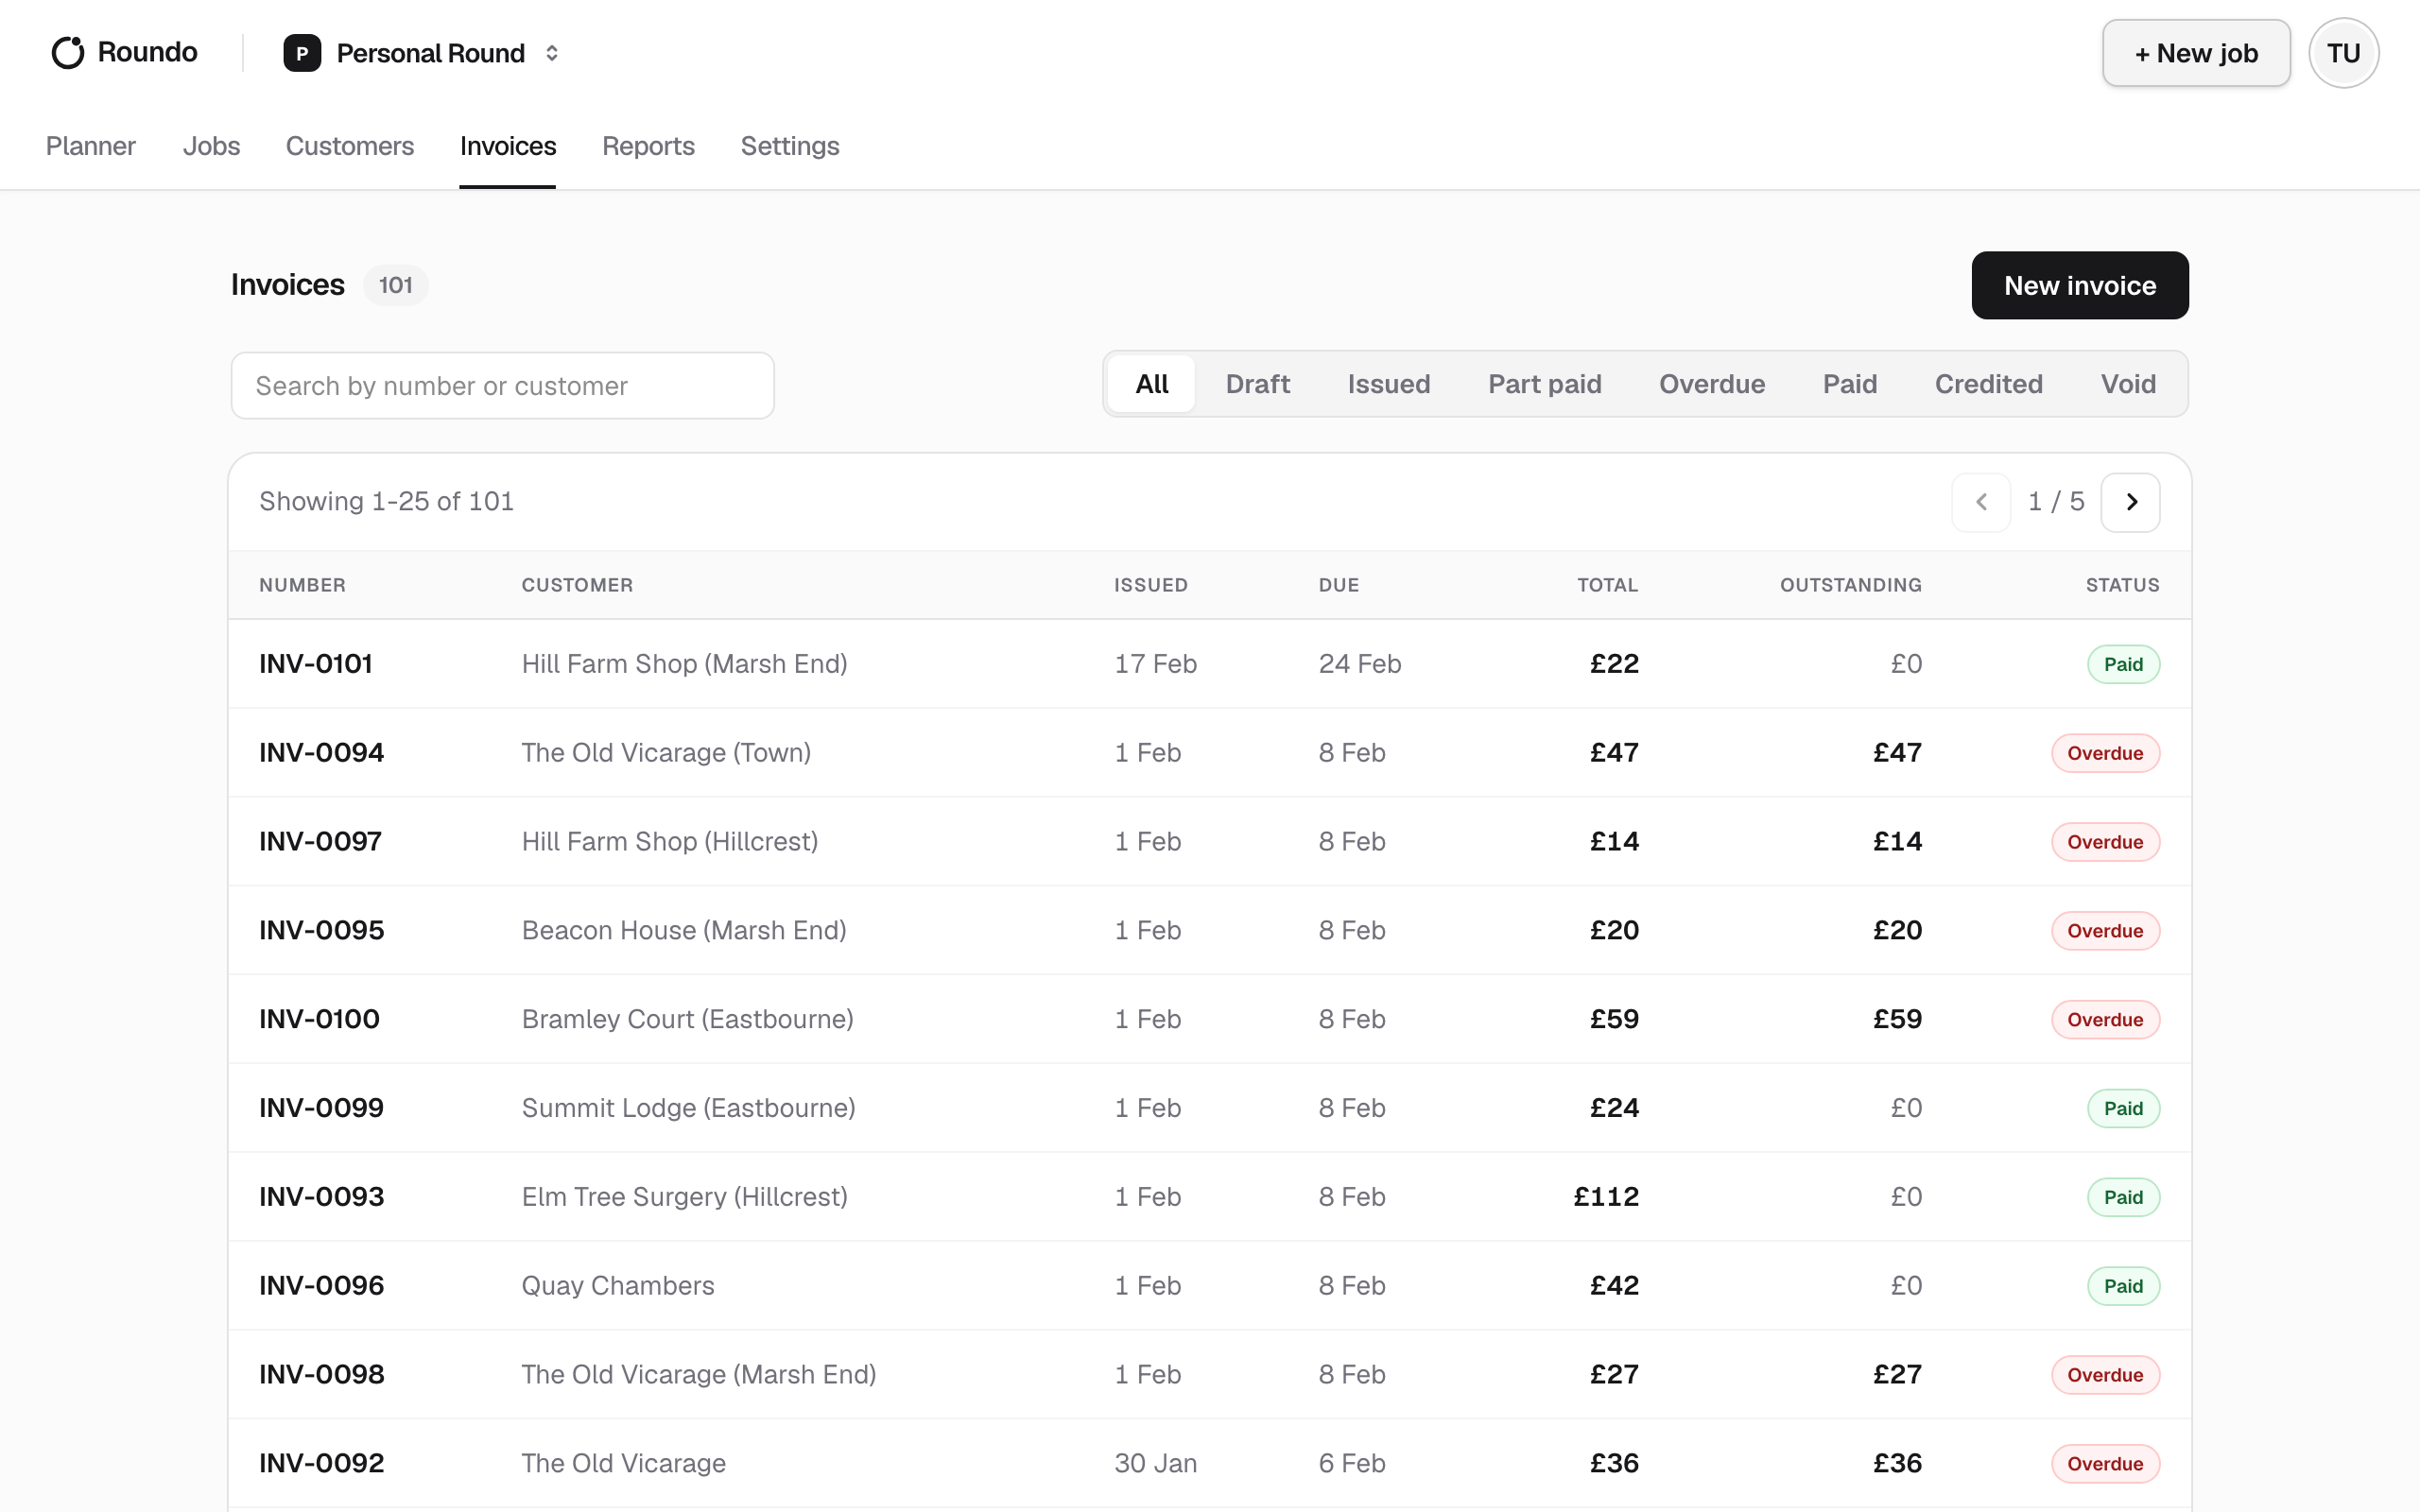
Open your Invoices
Go to the Invoices page. It lists every invoice with its address, customer and number, the amount and a status, and you can search or filter by status. When you’re starting out it shows a prompt to create your first one.
Start a new invoice
Choose New invoice. You can also start one straight from a customer’s page, with Create invoice, which fixes the customer for you. A fresh invoice opens as a draft, which means nothing is final yet and you can change everything.
Choose the customer
If you started from the Invoices page, pick the customer the invoice is for. This is an existing customer, so if they’re new, add them first: see Add a customer. If you started from a customer’s page, they’re already set and there’s nothing to choose.
Add the lines
There are two ways to put work on the invoice, and you can mix them:
- From outstanding visits pulls in completed visits the customer still owes for and that aren’t already on an invoice. This is the usual route: pick the visits and they come across as invoice lines with their address, service and amount already filled in.
- Add line gives you a blank line to type yourself, with a description, quantity and unit price. Use it for anything that isn’t a tracked visit.
The invoice total updates live as you add lines.
Set the due date and any notes
Give the invoice a due date, and add any notes you want shown on it, for example payment terms or a thank-you. Both are optional but the due date is what Roundo uses to flag an invoice as overdue later.
Save the draft
Choose Save draft. Your invoice is stored and stays fully editable: you can come back, change lines, add more visits and save again as many times as you like. A draft has no permanent number yet.
Issue the invoice
When the draft is right, choose Issue invoice. Issuing is the moment it becomes real: Roundo assigns a permanent invoice number and freezes the business details, the customer details and the amounts exactly as they are. This can’t be undone. If you ever need to correct an issued invoice, you void it and create a new one rather than editing it.
Send it to the customer
Once issued, choose Send invoice. Roundo emails the invoice to the customer with its PDF attached and marks it as sent. If they don’t have an email address on file, the send button is unavailable and Roundo prompts you to add one to the customer first, so add their email on their page and come back. You can also Download PDF yourself at any time, and Resend later if they need another copy.
Track it and get paid
Back on the Invoices list, each invoice carries a status so you can see where it stands: Draft, Issued, Part paid, Paid, Overdue or Void. You don’t mark an invoice paid by hand. Roundo works it out from the money received: settle the underlying visits, or record a payment against the customer, and the invoice moves to Part paid and then Paid on its own. An invoice that’s already paid never shows as overdue.
If a visit was paid on the doorstep, record it with Take payment on the customer’s page, and any overpayment rolls forward as credit against their next work. To bill work in the first place, start from Create a job.