In Roundo a customer is known by their address, because on the round that’s how you actually find the work. So adding a customer and setting up their first job are the same move: you create the customer as part of booking their work, give their name and address, and they start cycling on your round from there.
This guide covers that flow, then how to fill in the rest of their details once they exist.
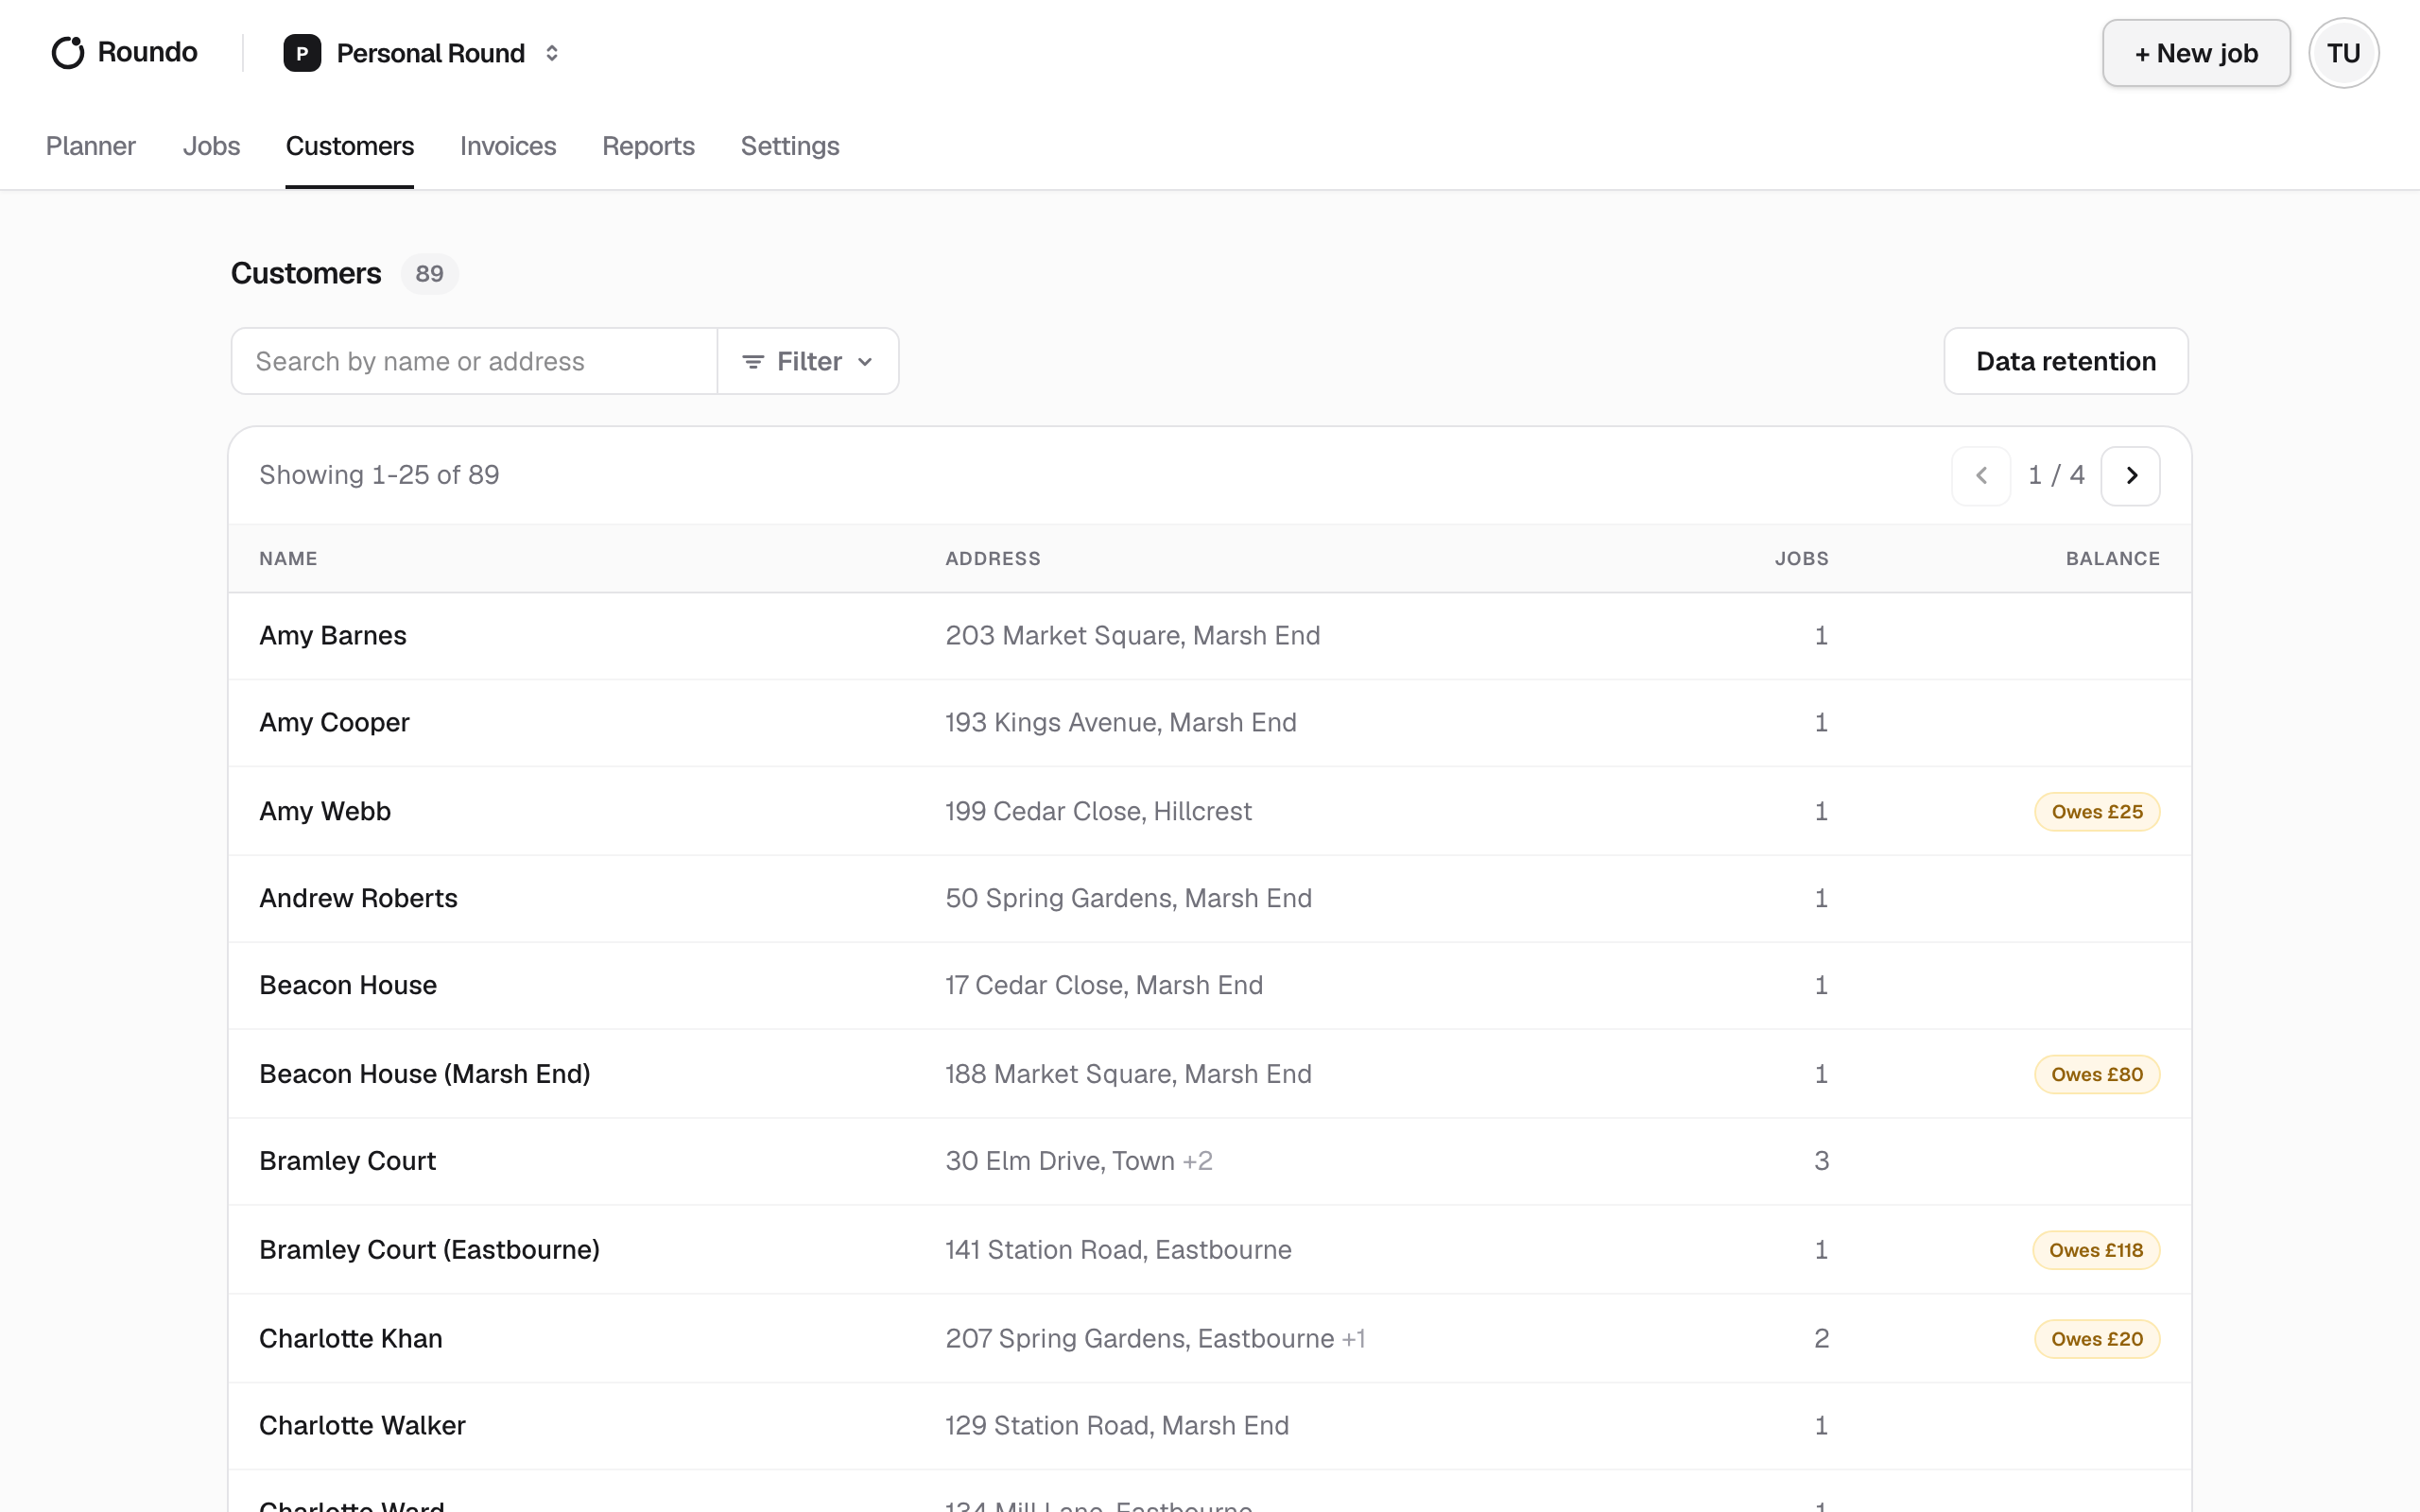
Open your Customers
Go to the Customers page. It lists everyone on your round by address, with their name, how many jobs they have and their balance. When you’re just starting out it shows a short prompt to add your first customer.
Start a new customer
Choose New customer. This opens the New job form, because a customer comes into being alongside their first job rather than as an empty record. Don’t worry, you give the job details in a moment; first you name the person.
Enter their name
In the Customer field, type the new customer’s name. Roundo offers to create them as you type: pick the “Create new” option with the name you’ve entered, and it switches into add-a-customer mode for the details.
Enter their address
Give the customer’s address: street, town and postcode. This is the one detail Roundo asks for up front, because the address is how the customer is identified everywhere in the app, on your worksheet, your invoices and your reports. Take a moment to get it right.
Name and address are all that’s needed to create the customer. Their phone, email and any notes come later, so you’re never blocked from getting the work in.
Set up their first job
With the customer named and placed, finish the job around them: the service, the price per visit, how often it repeats and its first date. If you want the full detail on those fields, see Create a job.
Save with Create job, and the customer and their job are created together. The customer now appears in your Customers list and their work starts coming round on your worksheet.
Add their contact details
Open the new customer’s page and choose Edit to fill in the rest: phone, email and any notes worth remembering about them. It’s worth adding an email here early, because you’ll need one on file to email the customer an invoice later. See Create and send an invoice.
If a customer has more than one property, you can add further addresses to the same customer from their page, so one person can carry several jobs at different places.
What happens next
Your new customer is now part of the round. Every visit you complete is logged against them and keeps their balance up to date, and you can take a payment or raise an invoice from their page whenever you need to.